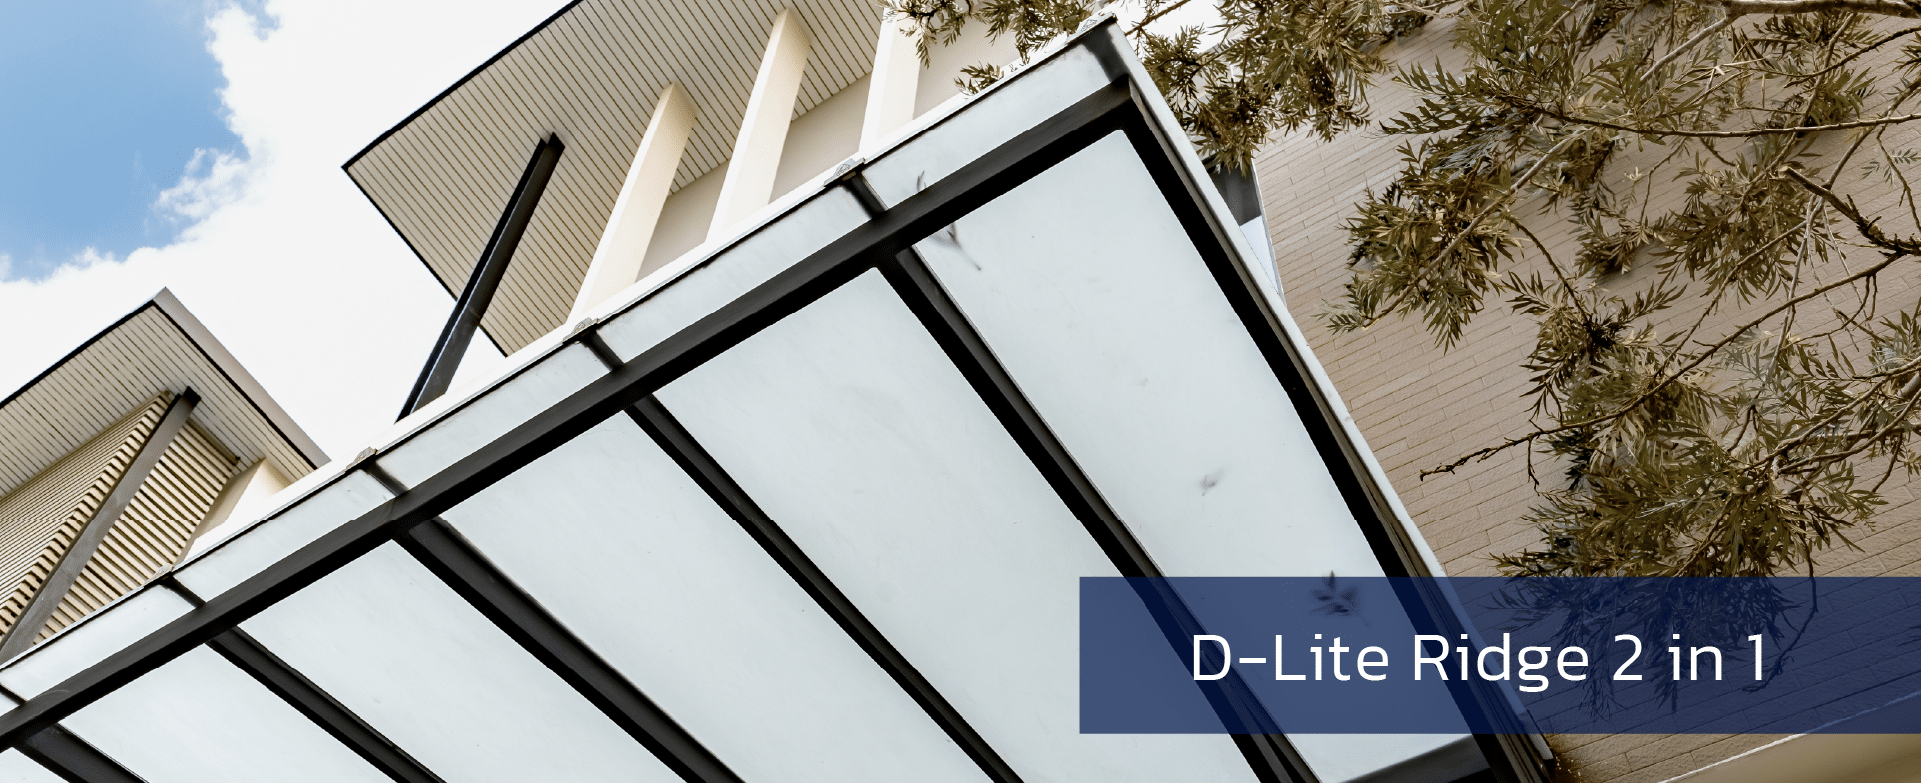
D-Lite Ridge 2 in 1
Installing a D-Lite Ridge 2 in 1
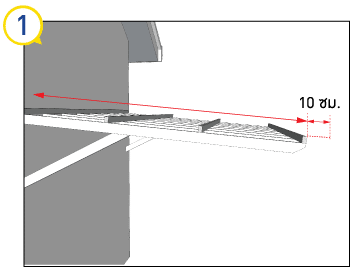
Measure the Frame Length: Measure the length of the frame along the slope, then add 10 cm (eaves) to get the total sheet length. For example, if the frame extends 1.90 m, cut the sheet to 2 m.
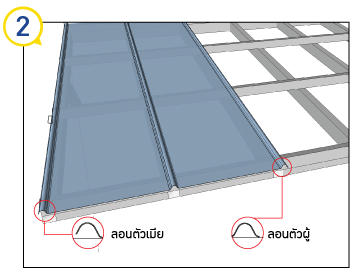
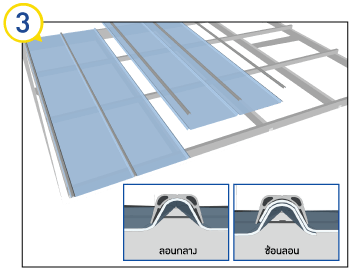
Start with a Full-Meter Sheet: Begin installation with a full-meter sheet, laying it in one direction.
Position the Outer Edge with the Female Rib First: Start at the outer edge with the female Rib (short end) to ensure proper overlap.Align the Wave Ends: Observe that the ends of the rib differ on each side. Always overlap the female rib (short end) over the male rib (long end).
• Male Rib: Shorter end.
• Female Rib: Longer end.
Installing the D-Top and Securing with Screws
Place the D-Top on Each Rib: Lay a D-Top piece over every rib along the sheet.
Secure with 40 mm Screws on the D-Top: Attach the screws through the D-Top along the purlin. For rafters, ensure the screws are spaced no more than 80 cm apart. Continue Installation: Repeat this for each wave crest until the entire awning is secured.
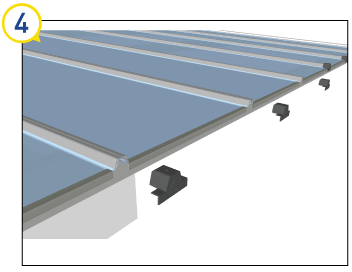
Finishing the Edges of the Sheets • Check Edge Alignment: Ensure all sheet edges are flush. If any edges are uneven, use a grinder to trim them. • Attach Aluminum End Brackets: Cut a 46 cm aluminum bracket to fit at the edge of the sheets. • Install D-Plug on Ribs: Place a D-Plug over the D-Top on each rib, then secure it with 20 mm screws.
Installation Guide Video for D-Lite Ridge 2 in 1
